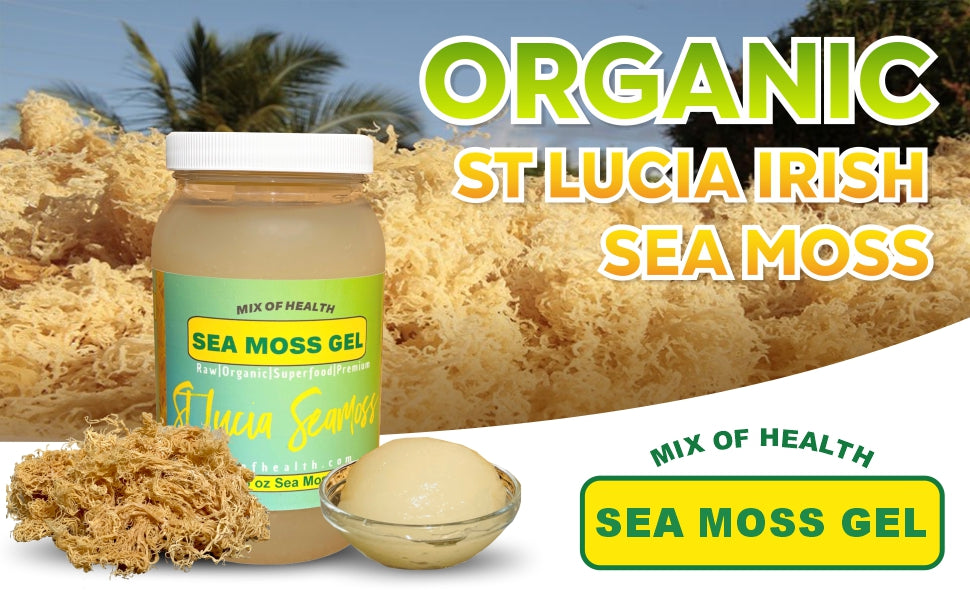
Making sea moss gel at home is a simple process that requires a few steps. Here's a step-by-step guide to help you make your own sea moss gel:
- Start by thoroughly rinsing the dried sea moss in fresh water to remove any debris or ocean residue. It's essential to clean the sea moss properly before use.
- Soak the sea moss in a bowl of filtered water for about 24-48 hours. Make sure there's enough water to completely cover the sea moss, as it will expand during the soaking process. You can change the water a few times during this period to remove any impurities.
- After soaking, the sea moss should have expanded and become softer. Drain the water and give it a final rinse.
- Transfer the soaked sea moss to a blender or food processor. Add fresh filtered water to the blender, using a ratio of 1 cup of water for every 1 ounce (28 grams) of sea moss. This ratio can be adjusted based on the desired consistency of your gel.
- Blend the sea moss and water mixture on high speed until it becomes smooth and creamy. This process typically takes a few minutes. Stop and scrape down the sides of the blender if necessary to ensure even blending.
- Once the mixture is smooth and has a gel-like consistency, pour it into a clean glass jar or airtight container. Seal the container tightly.
- Refrigerate the sea moss gel for at least 4 hours or overnight to allow it to set and thicken. During this time, the gel will solidify and become more gelatinous.
- After refrigeration, your sea moss gel is ready to use. It will have a slightly thick and jelly-like texture. You can store it in the refrigerator for up to 4 weeks.
Note: While making sea moss gel, some people choose to add a natural preservative like lime or lemon juice to extend its shelf life. However, this step is optional and depends on personal preference.
That's it! You've successfully made your own sea moss gel at home. Now you can enjoy its nutritional benefits by incorporating it into various recipes or consuming it on its own.

